Last night I had a little time on my hands so I opened the bag of parts for the electric flaps. There are lots of little parts; nut plates, bolts, angles, connectors, wire, a big dog servo and a few pages of instructions. Don't you love the minimalist approach to directions?
Anyway, I started marking some of the angles and flat aluminum. They need to be marked, drilled, cut, ground, etc before we actually start the installation.
Monday, September 22, 2008
Tuesday, September 16, 2008
Auto pilot selection
 This is the TruTrak ADI Pilot II.
 It is by all accounts a very cool tool. It looks like this will be in our panel.
•GPS-Slaved solid-state DG
•Digital Ground Track Selector
•GPS Nav Mode
•True Control Wheel Steering
•Altitude Hold
•Altitude adjust fro baro change
•Built-in ADI:
Bank angle is instantaneous gyro data. Pitch is gyro enhanced vertical speed. Direction is an electronic DG showing track. Extreme bank angle is enunciated by flashing red arrows which indicate required stick motion to correct unusual altitude. Low airspeed warning is enunciated by flashing A-S on the display.
•12-28 Volt only
•ADI Pilot II 3-1/8" Dimensions
3.4" H x 3.4" W x 4.7" D
•Standard weight including servo 6lb
Thursday, September 11, 2008
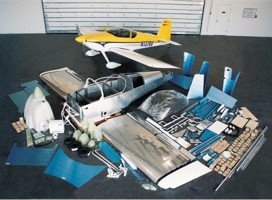
New QB pics

It occured to me that I have not posted any picture recently. Here are a couple shots of the quick build fuse and wings.

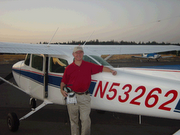
And a picture of Bob holding one of the wing tips.
We've been trying to decide how to do the lighting. Should we put the landing lights in the wing tips or cut out a section of the leading edge of each wing?
Still cogitating on that...
Here are a couple of solutions we've looked at:
CreatiAir
Very Nice Look
One of the advantages of LED lighting is it takes very little power to drive them. Price may be the winning factor.
As you can see these solutions are not what you could call cheap.
Empenange details - still a few to take care of
One last trip to get the correct rivets and this time's the charm Installed rivets to left elevator. As it turns out our sequence was a little off. The cherry max fit great but there was no way to get the pop rivet tool to one of the rivets, so we ended up bucking it after all.
Then fiddled with the hinge pin for the trim tab. Had to do some realigning of the hinge as it was slightly bent in the riveting mentioned above. No big deal. The hinge pin is steel and fairly stout, so putting the proper bends in the end was an imperfect operation.
After we patted each other on the back we decided to fit the fiberglass pieces to the ends of the elevators. Had to trim some of the fiberglass to get the proper fit. Band saw made short order of that. Also got an opportunity to fire up the dremmel. We proceeded to drill and cleco around the the ends. Went very well.
Then we started fitting the lead counter balance weights for the elevators. I don't know why we didn't do this stuff while we were waiting for the QB fuse and wings... Oh well. If we keep moving, we'll get there.
I continue reading about the work that's ahead of us. It's so helpful to look at some of the better builder's sites. Pictures, descriptions, solutions, creative ideas, etc. This is a great learning experience.
Saturday, September 6, 2008
Gotta get the right rivets!
I made a special trip to Puyallup to get just a handful of cherry max rivets. It's all that's left to say "Done" to the empennage. Cherry max rivets are very specific about size, but they are the only choice for a structural pull-through rivet. I even took the parts with me to be sure I got the right rivets. The young guy minding the store seemed so sure of himself that I didn't even question him. Bad move!
I got home and it was painfully obvious that I had the wrong rivets. Lesson learned.
I got home and it was painfully obvious that I had the wrong rivets. Lesson learned.
Subscribe to:
Posts (Atom)
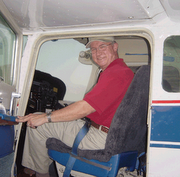
Before we decided to build an RV9A we were looking at the RV7A. This picture was taken on a factory tour.
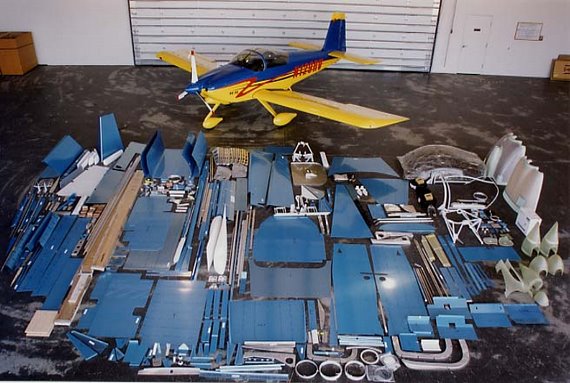
Standard (aka Slow build) RV9a kit
Quick build RV7 kit